Classic Tarte Tatin
18/11/2020
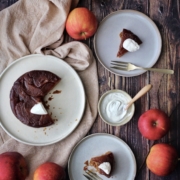
I love Tarte Tatin and I usually make this tart in the style of a pastry shop I worked at in France, but this year, I baked it in the classic way. You can buy puff pastry and use it instead of making dough from scratch, it’s way easier. Instead of using a cake pan, I used my cast iron pot and it works well so you don’t need to buy a cake pan, just use any oven safe pot.
I served it with vanilla whipped cream but vanilla ice-cream is another great option. I like the tart both warm and cold. Why not bake this and surprise your family and friends next weekend?
Recipes
Classic Tarte Tatin
Ingredients
- 4 to 6 fresh apples
- 100 g (1/2 cup) granulated sugar
- 20 g (1+1/2 tbsp) unsalted butter
- 1 sheet Pâte Brisée (Pie Crust)
Instructions
-
Roll out the Pâte Brisée (Pie Crust) to a 3 mm-thick round on a lightly floured surface and cut a 16cm circle. Using a fork, poke holes all over it, place on a baking sheet. Bake in a preheated oven at 180°C /355℉ for about 20 - 30 min or until it gets golden.
-
Heat half the amount of granulated sugar in a 16 cm (6-inch) pot or saucepan over medium heat. Cook, stirring occasionally, until the sugar turns a caramel color. Be careful not to burn. Remove from the heat and place the pot over the ice water to prevent it from burning in the remaining heat.
-
Peel, core and cut the apple into 4 to 5 pieces, depending on the size of the apples.
-
Place the small pieces of butter onto the caramel and arrange the apple very tightly onto it. Sprinkle half of the remaining sugar over the entire apple. Then place another layer of apples on top of it, sprinkle all the remaining sugar over it. Bake in a preheated oven at 170°C /340℉ for about an hour. Let it cool.
Assembly
-
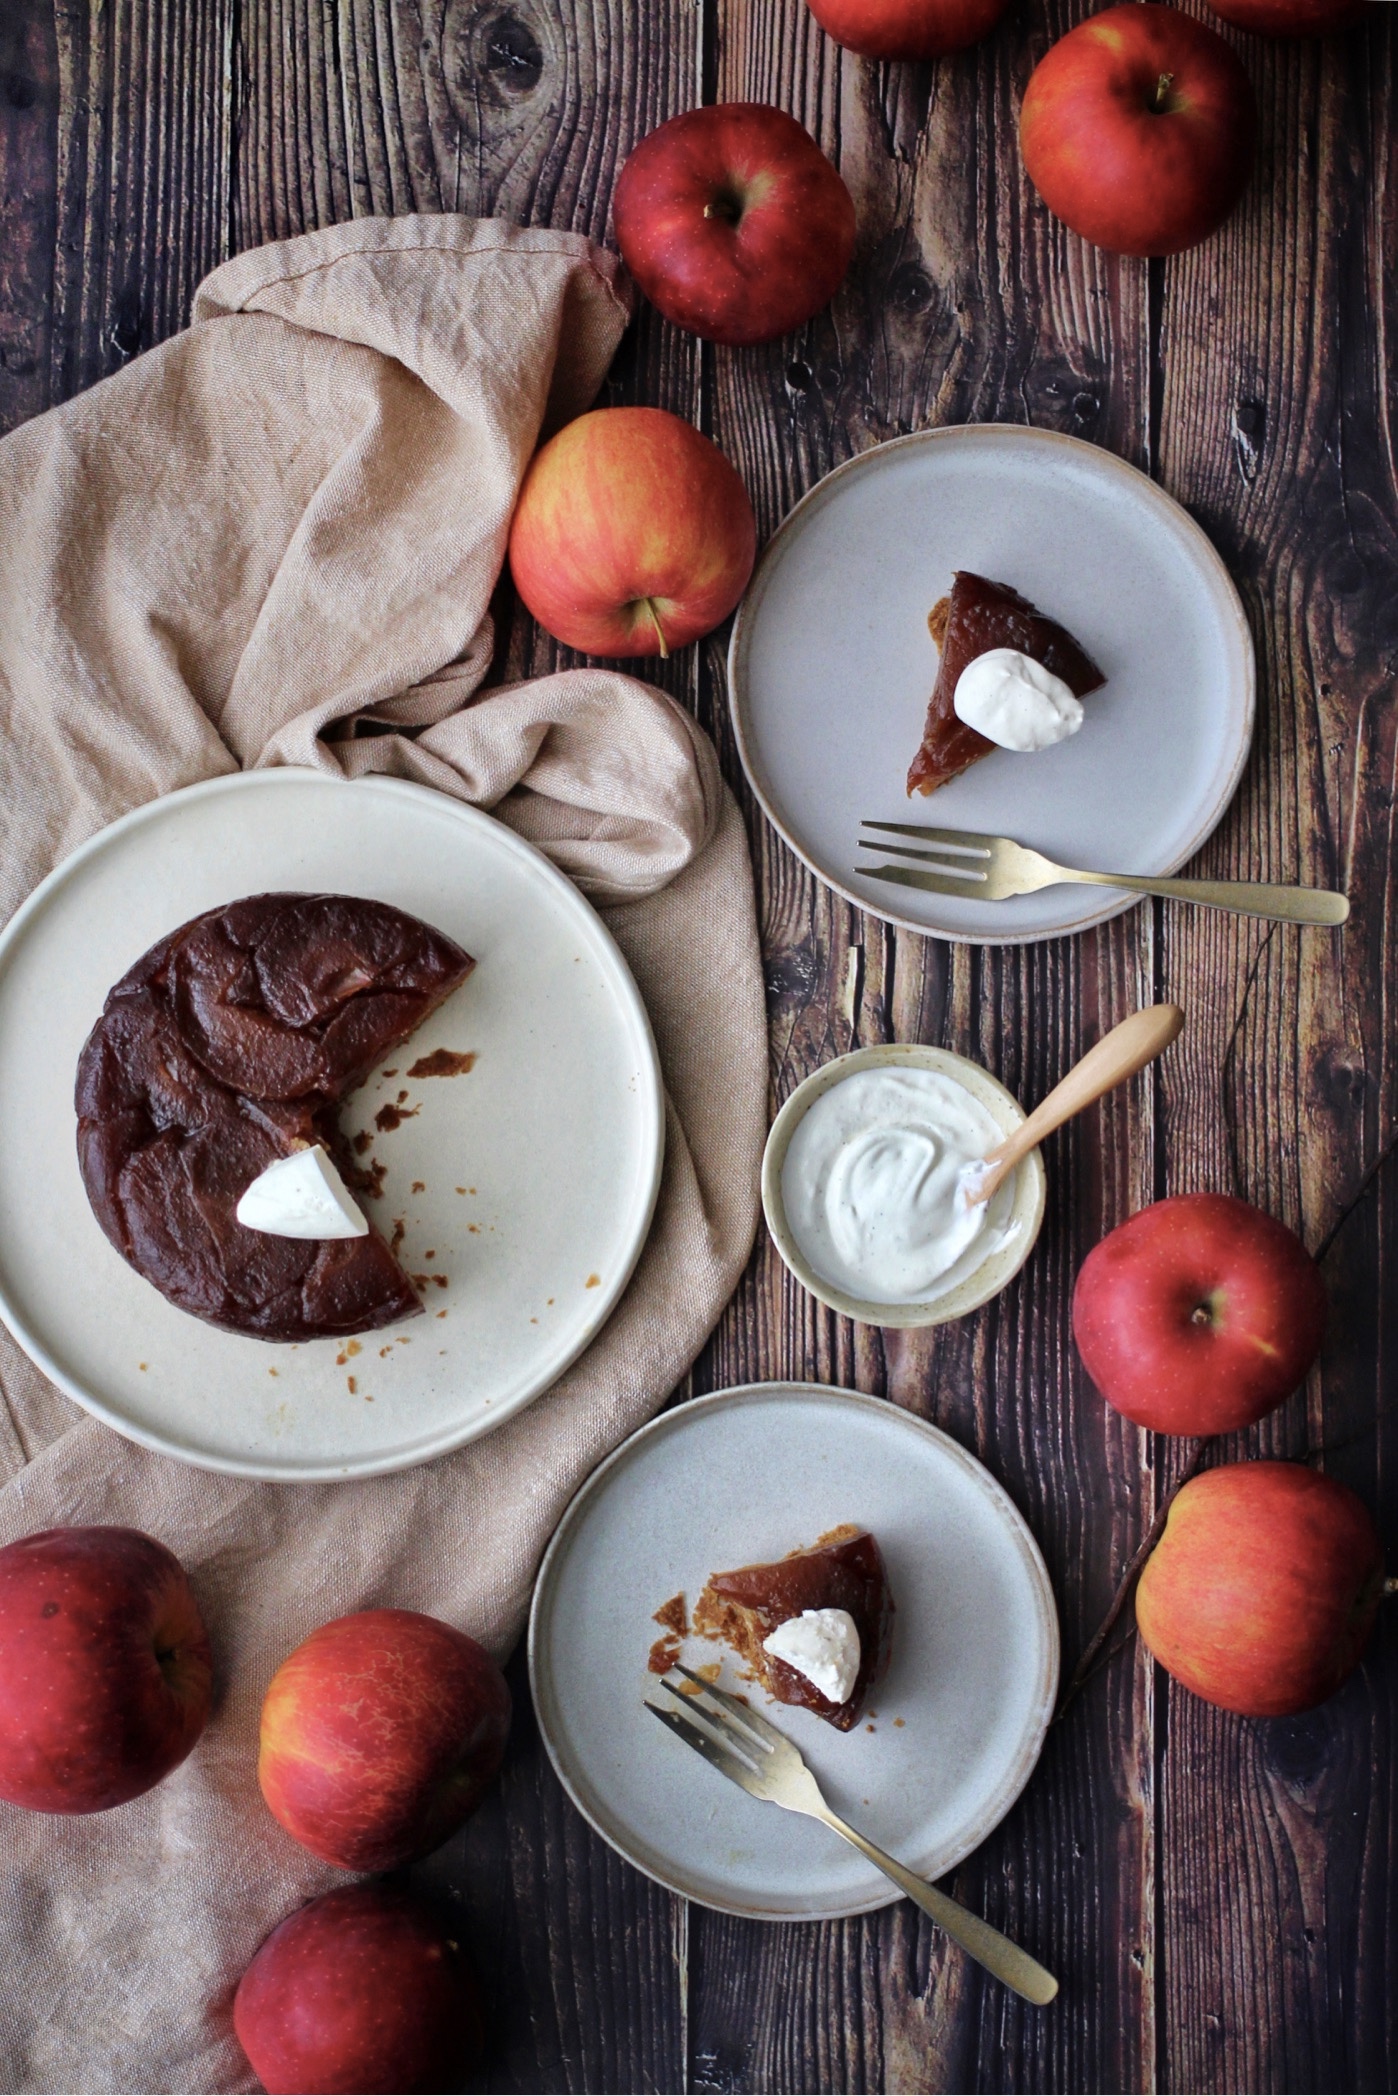
Place the baked pie crust onto the baked apple. Place a serving platter upside down on top of the pot and carefully flip the platter and the pot over. Let the tart fall gently.
-
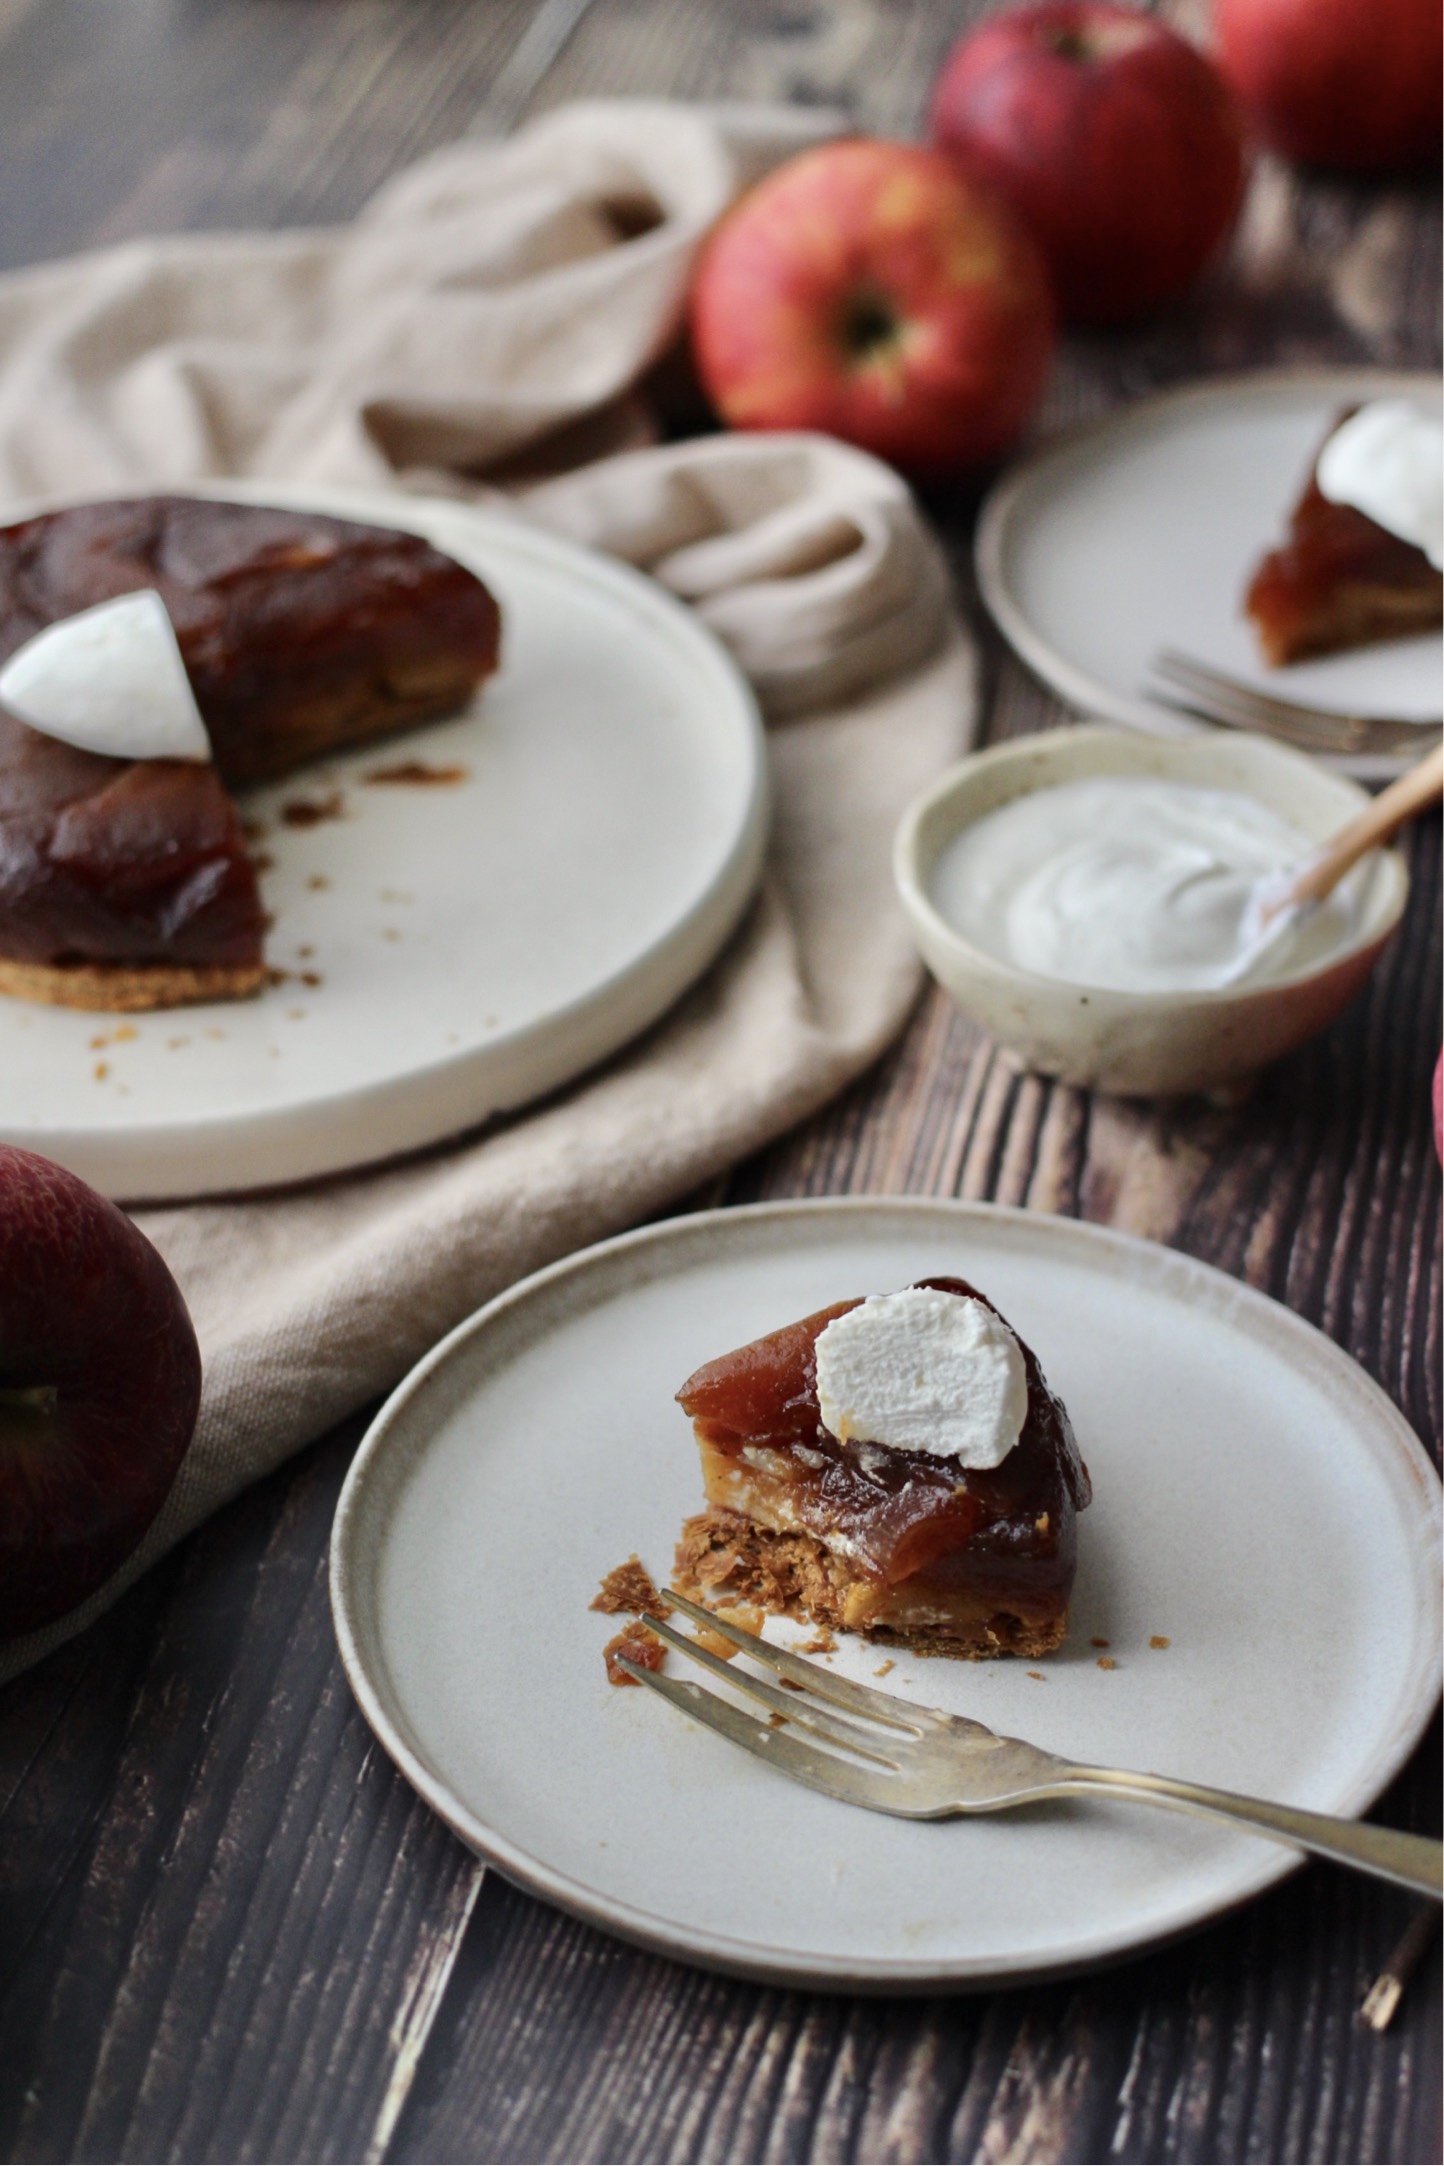
Serve with whipped cream or vanilla ice cream. Enjoy!
Helpful Tips
I baked the apples and crust separately and combined them at the end, but you can also put the dough on top of the apples and bake them together. Baking them separately makes the pie crust crispier, but baking them together allows the pie crust to soak up the cooking juices from the apples, which is also delicious. And above all, it’s easier to make. In cake shops, the apples are usually baked the day before, and the pie crust is baked on the day of sale and combined with the apples.