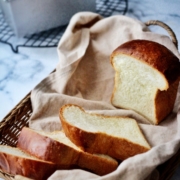
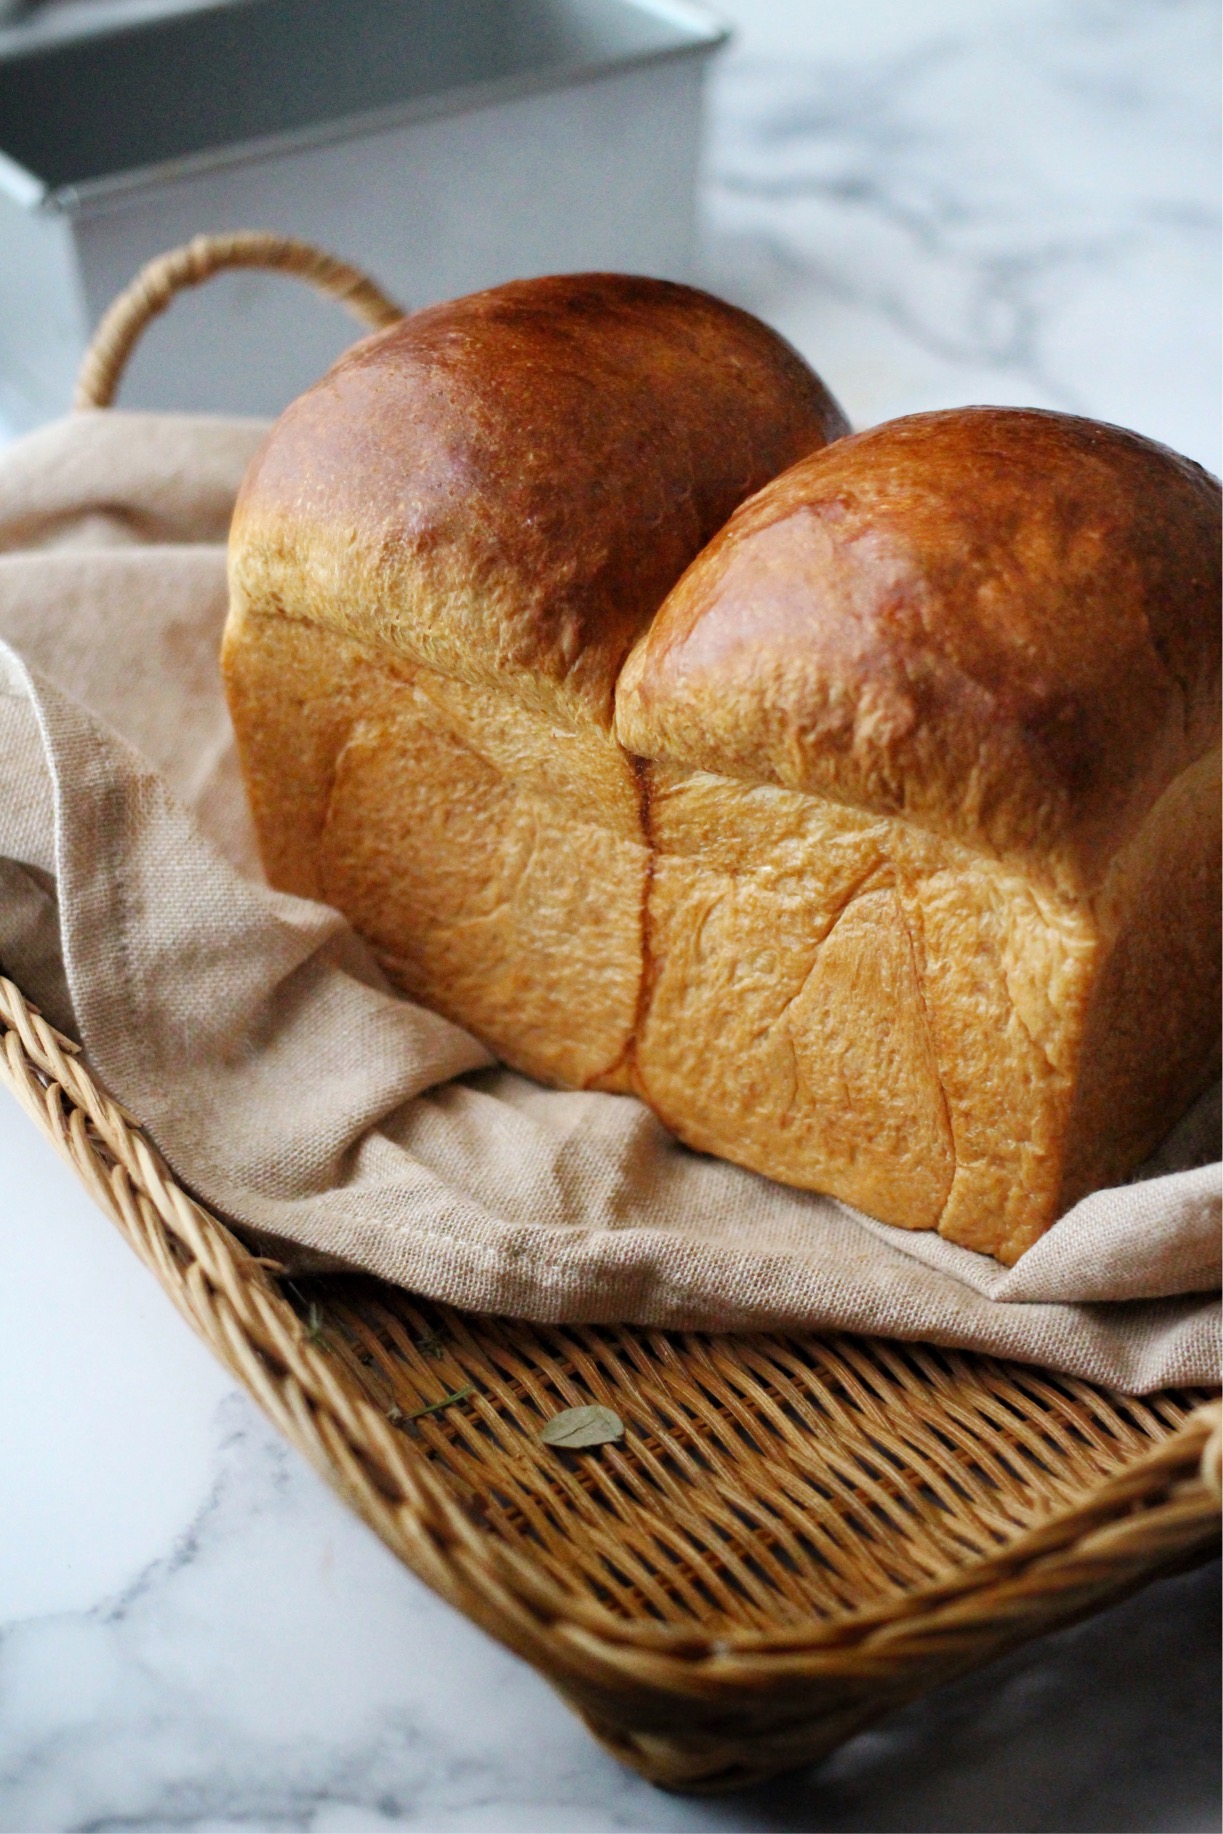
Japanese Hokkaido Milk Bread
08/05/2020
Bread is more often eaten for breakfast in Japan, but I personally prefer rice to bread. But when I bake bread at home, I tend to eat it too much because freshly baked bread is just so good.
Hokkaido milk bread is one of the most popular and common breads for Japanese people. It’s incredibly soft and fluffy like a pillow. You can get it everywhere and you can find so many recipes.
For today, I’d like to introduce one of the most basic recipes.
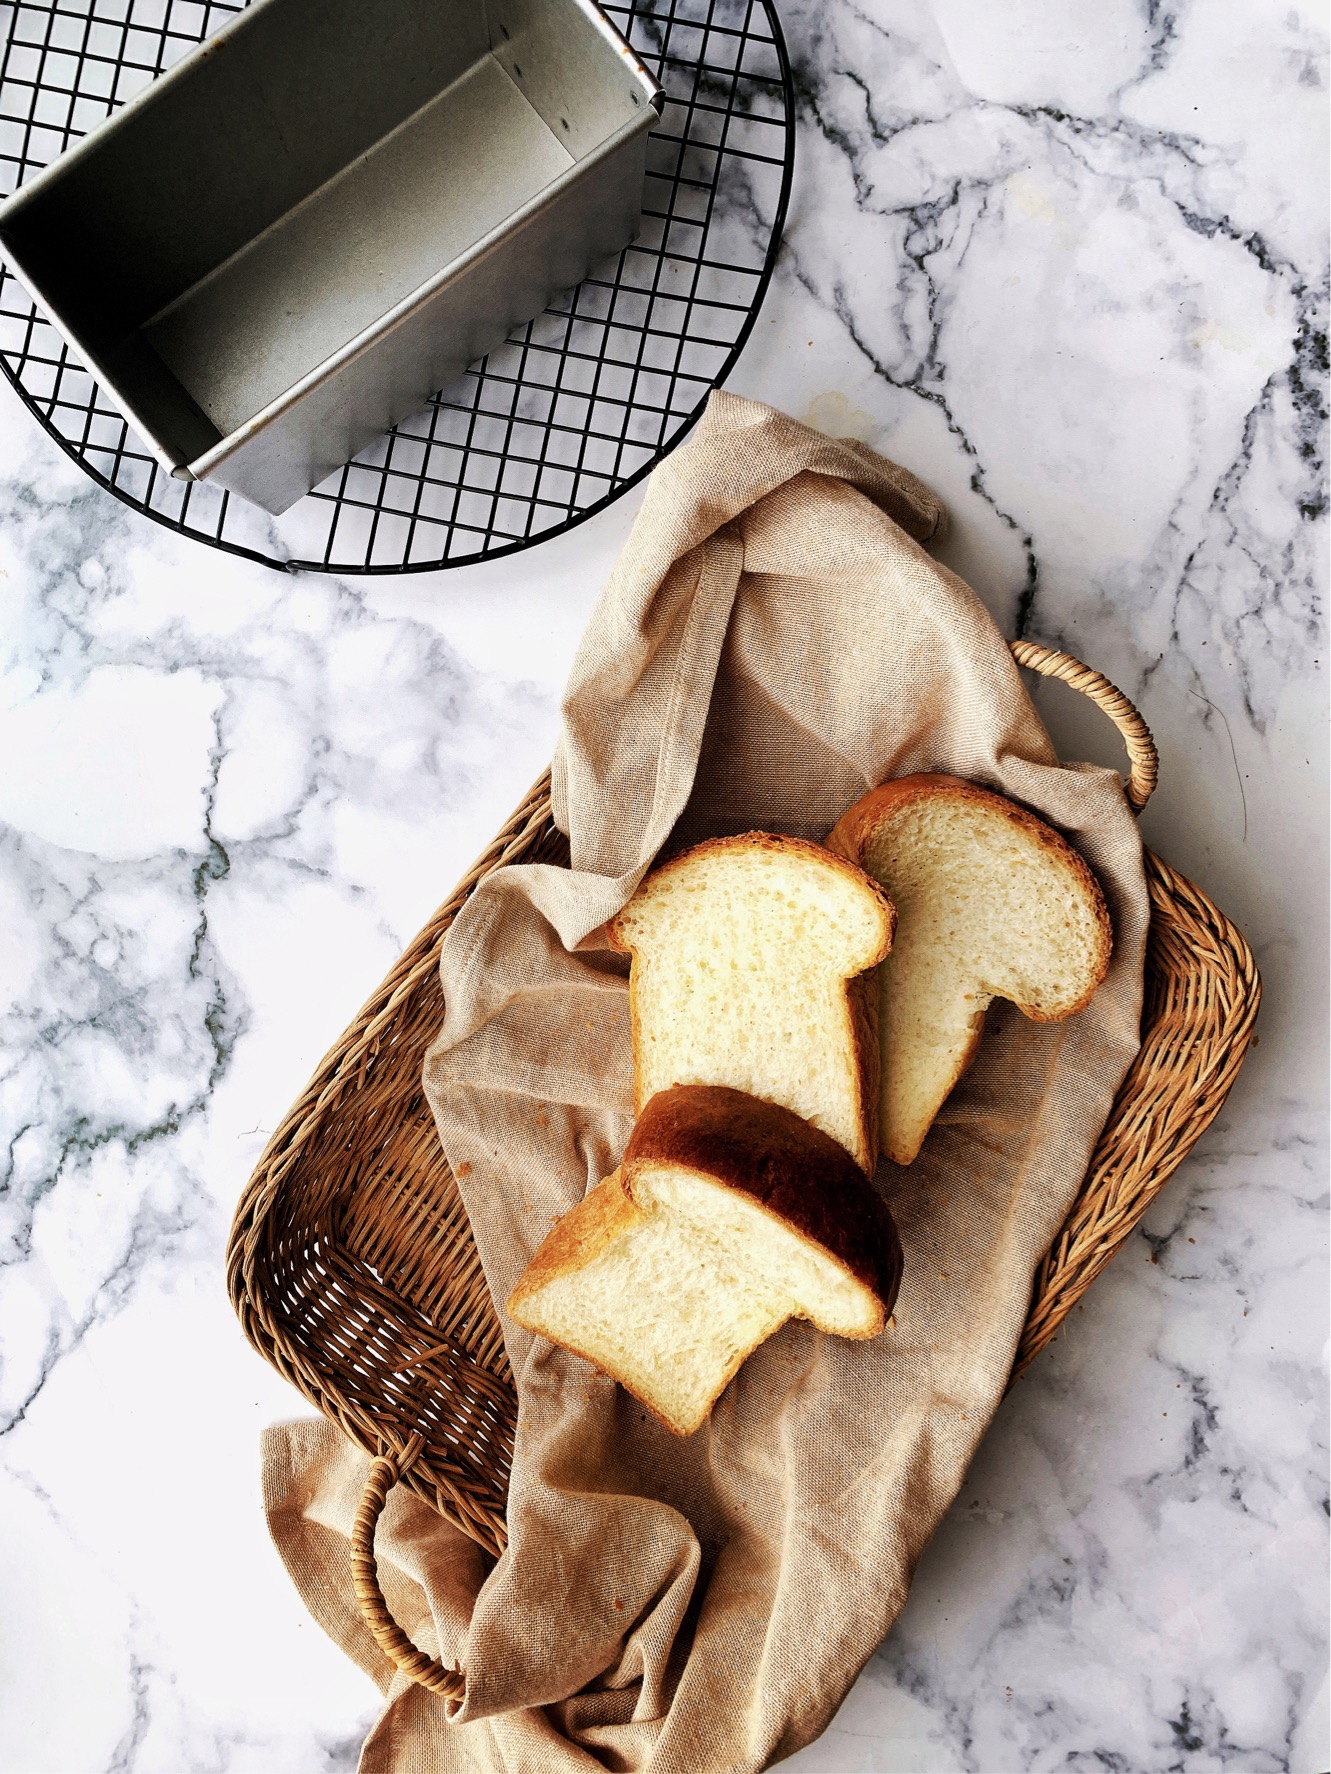
This recipe is not a sweet one, but it’s a classic one so you can enjoy it both with sweet spreads such as jam or make something savory like sandwiches.
It’s very important to know the tips for making your bread fluffy so please check this before you first bake it.
The tips to make your bread fluffy.
- Choose the flour which contains high protein. I recommend more than 12%
- Knead the bread well. I show how the dough should look in the video, so please check it.
- You could increase the amount of milk but if you add more milk, your bread will be more dense. I’ve seen many recipes call for only milk instead of water, but milk contains protein and that makes your bread more dense. The balance is very important.
If you want to learn more about Japanese Hokkaido milk bread, you can find my online this bread course below.
>> Japanese Pastry Course #5 Japanese Hokkaido Milk Bread
Recipes
Japanese Hokkaido Milk Bread
Ingredients
- 250 g (2 cups) bread flour - Please check "the tips to make your bread fluffy"
- 15 g (1+1/3 tbsp) sugar
- 5 g (1 tsp) salt
- 3 g (1 tsp) Instant dry yeast - I use "saf Instant yeast"
- 50 ml (3+1/2 tbsp) full-fat milk - around 30℃/86℉ (check helpful tips)
- 150 ml (3/5 cup) water - around 30℃/86℉ (check helpful tips)
- 20 g (1+1/2 tbsp) unsalted butter - at room temperature
- butter for a loaf pan, whole egg for egg wash
Instructions
-
In the bowl of a stand mixer, whisk together bread flour, sugar, salt and yeast. Once mixed, add in milk and start mixing with the dough hook attachment. Add the water little by little.
-
Beat for about 5 minutes on a low speed. The dough will be very sticky at first but keep kneading. After 5 minutes and once it comes together, add the butter and beat for about 1 minutes on a low speed. Once the butter is incorporated, beat for another 7-10 min on a medium speed.
-
Check the consistency (I show how the dough should look in the video, so please check it), and if it's ok, transfer the dough to a lightly floured surface and shape the dough into a ball. Place into a bowl and cover with plastic wrap. Keep the bowl in a warm place(30℃/86℉) for 1 hour or until the dough has doubled in size.
-
Transfer dough onto a lightly floured surface and press the dough with your palm to remove the gas bubbles formed by the yeast. Shape the dough into a ball and put it back to the bowl, cover with plastic wrap and let sit for another 30 min in the warm place.(30℃/85℉)
-
Transfer the dough onto a lightly floured surface and divide into 2 equally sized pieces. Shape into a ball and place onto a plate cover with a damp cloth. cover with plastic wrap and let sit for another 30 min in the warm place.(30℃/85℉)
-
Roll each out and then fold each of the long sides. Starting on one of the shorter edges, roll up the dough a little tightly. Place it into a greased loaf pan, and repeat with the other dough.
-
Cover the loaf pan with plastic wrap and let the dough proof in a warm place(38℃/100℉) for 45 min or until the dough rises to just below the top of the loaf pan.
-
Preheat oven to 200℃/400℉. Once the dough has risen, brush the top of the dough with egg. Bake at 200℃/400℉ for about 30 min. If the surface starts to get golden color on top too much in the oven, place a piece of foil over the surface to prevent it from burning.
-
Once take the loaf pan from the oven, drop it immediately and remove the bread from the pan. Let it cool on a wire rack.
Helpful Tips
If you have a thermometer, check the dough temperature after kneading. It should be around 26℃/79℉.
If it’s higher or lower, change the water and milk temperature next time. We adjust the water and milk temperature depending on the weather and ambient temperature. You can knead the dough by hand as well. When you knead the dough with a stand mixer, the dough temperature becomes higher because of the frictional heat.